Robo Roast
UC Berkeley ME100: Internet of Things
Meghna Sharma, Brian Hsu
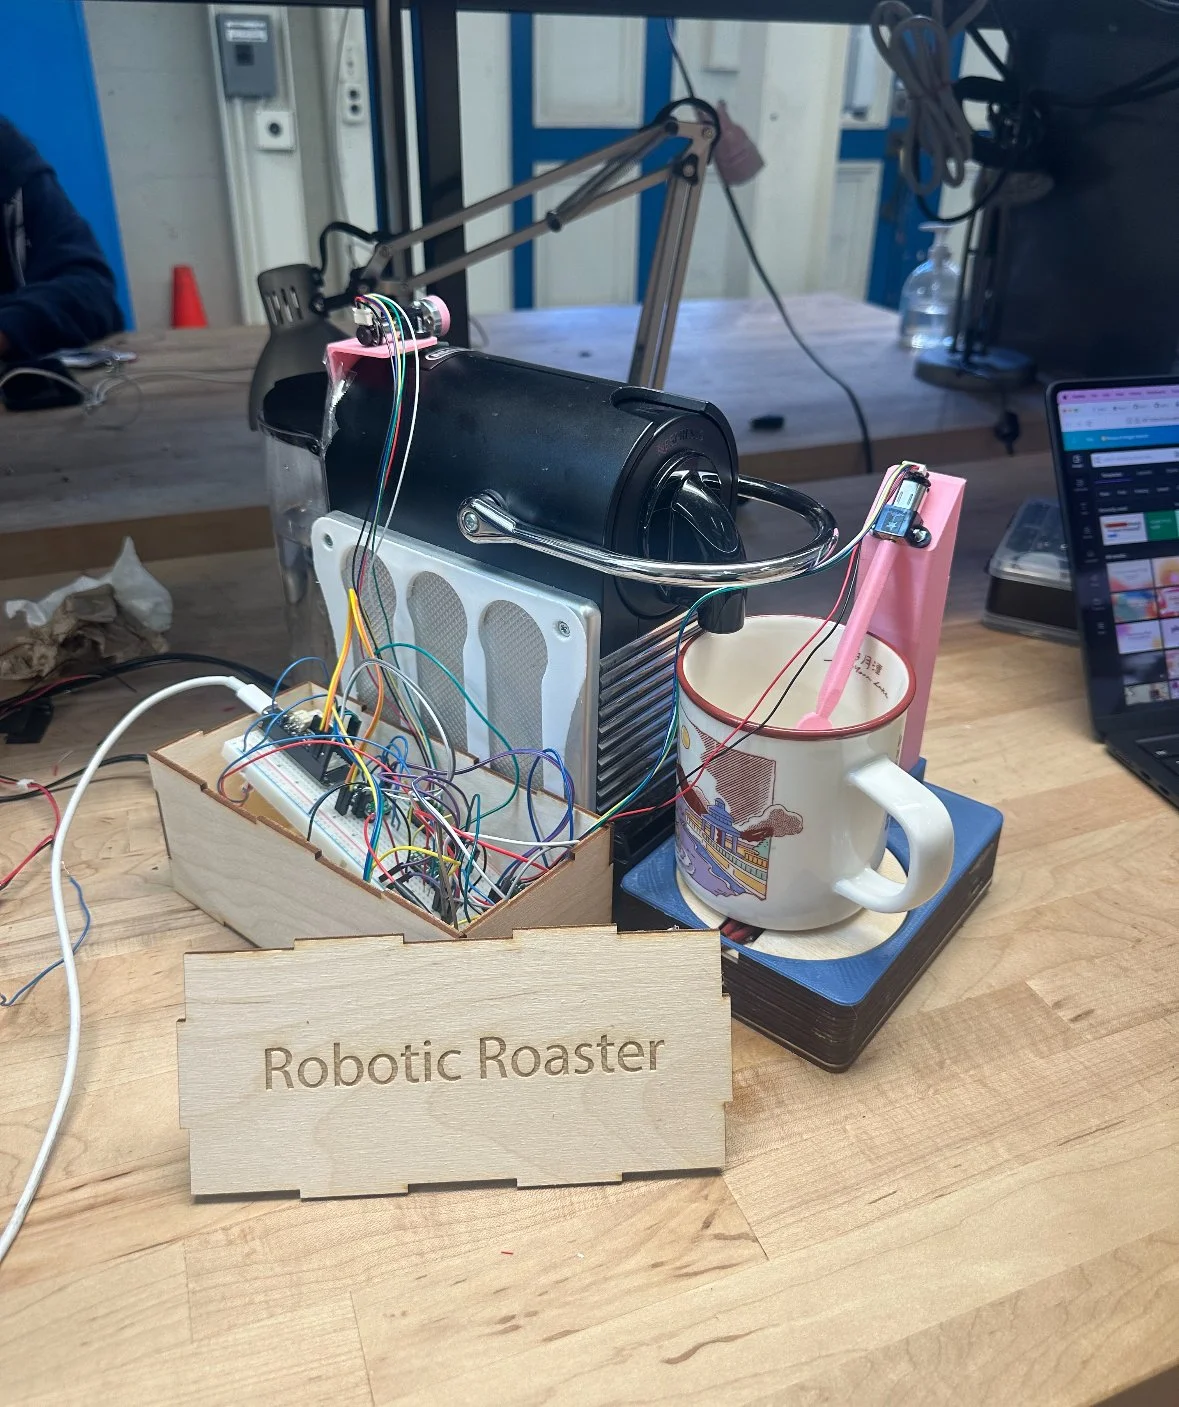
Robo Roast is an automated coffee machine that starts your brew with a wireless signal and keeps it ready by stirring and maintaining brew heat via heating pad.

getting out of bed is not fun.
but freshly brewed coffee first thing in the morning is.

What products exist to automate your morning coffee brewing experience?
-
Lacks warming and stirring features
Connection via Bluetooth (requiring a close distance..)
-
Keeps coffee warm for hours, we’ll take inspiration from this material!
-
Brews automatically with sync to alarm clock
No warming or stirring features

Utilizing IoT Knowledge for wireless communication
Feature Ideation
How might we automate the morning coffee process to deliver freshly brewed coffee upon someone getting out of bed?
Building off of existing coffee machine to prevent a ‘reinventing the wheel’
Rube Goldberg Inspiration: Having one motion trigger consequent motion
Replicating natural human stirring behavior to prevent coffee settling

OUR PRODUCT
OUR PRODUCT
Step 1
User sends phone signal from bed!
Step 4.2
Heating element keeps coffee warm until mug is lifted by user
ROBO ROAST
intended behavior
Step 2
Button press starts Nespresso process
Step 4.1
Machine spoon begins to stir the mug until mug is lifted by user
Step 3
Coffee brews and sensor gauges when full cup is poured

COMPONENT OVERVIEW
IP-Connected Device
Load Cell
————>
ESP32
————>
1. IP CONNECTION
Any device can connect to ESP32's IP Address via input into a browser, if on the same WiFi
Once connected, device receives an HTML-coded website contains the option to “start” brewing whenever user is ready to brew coffee
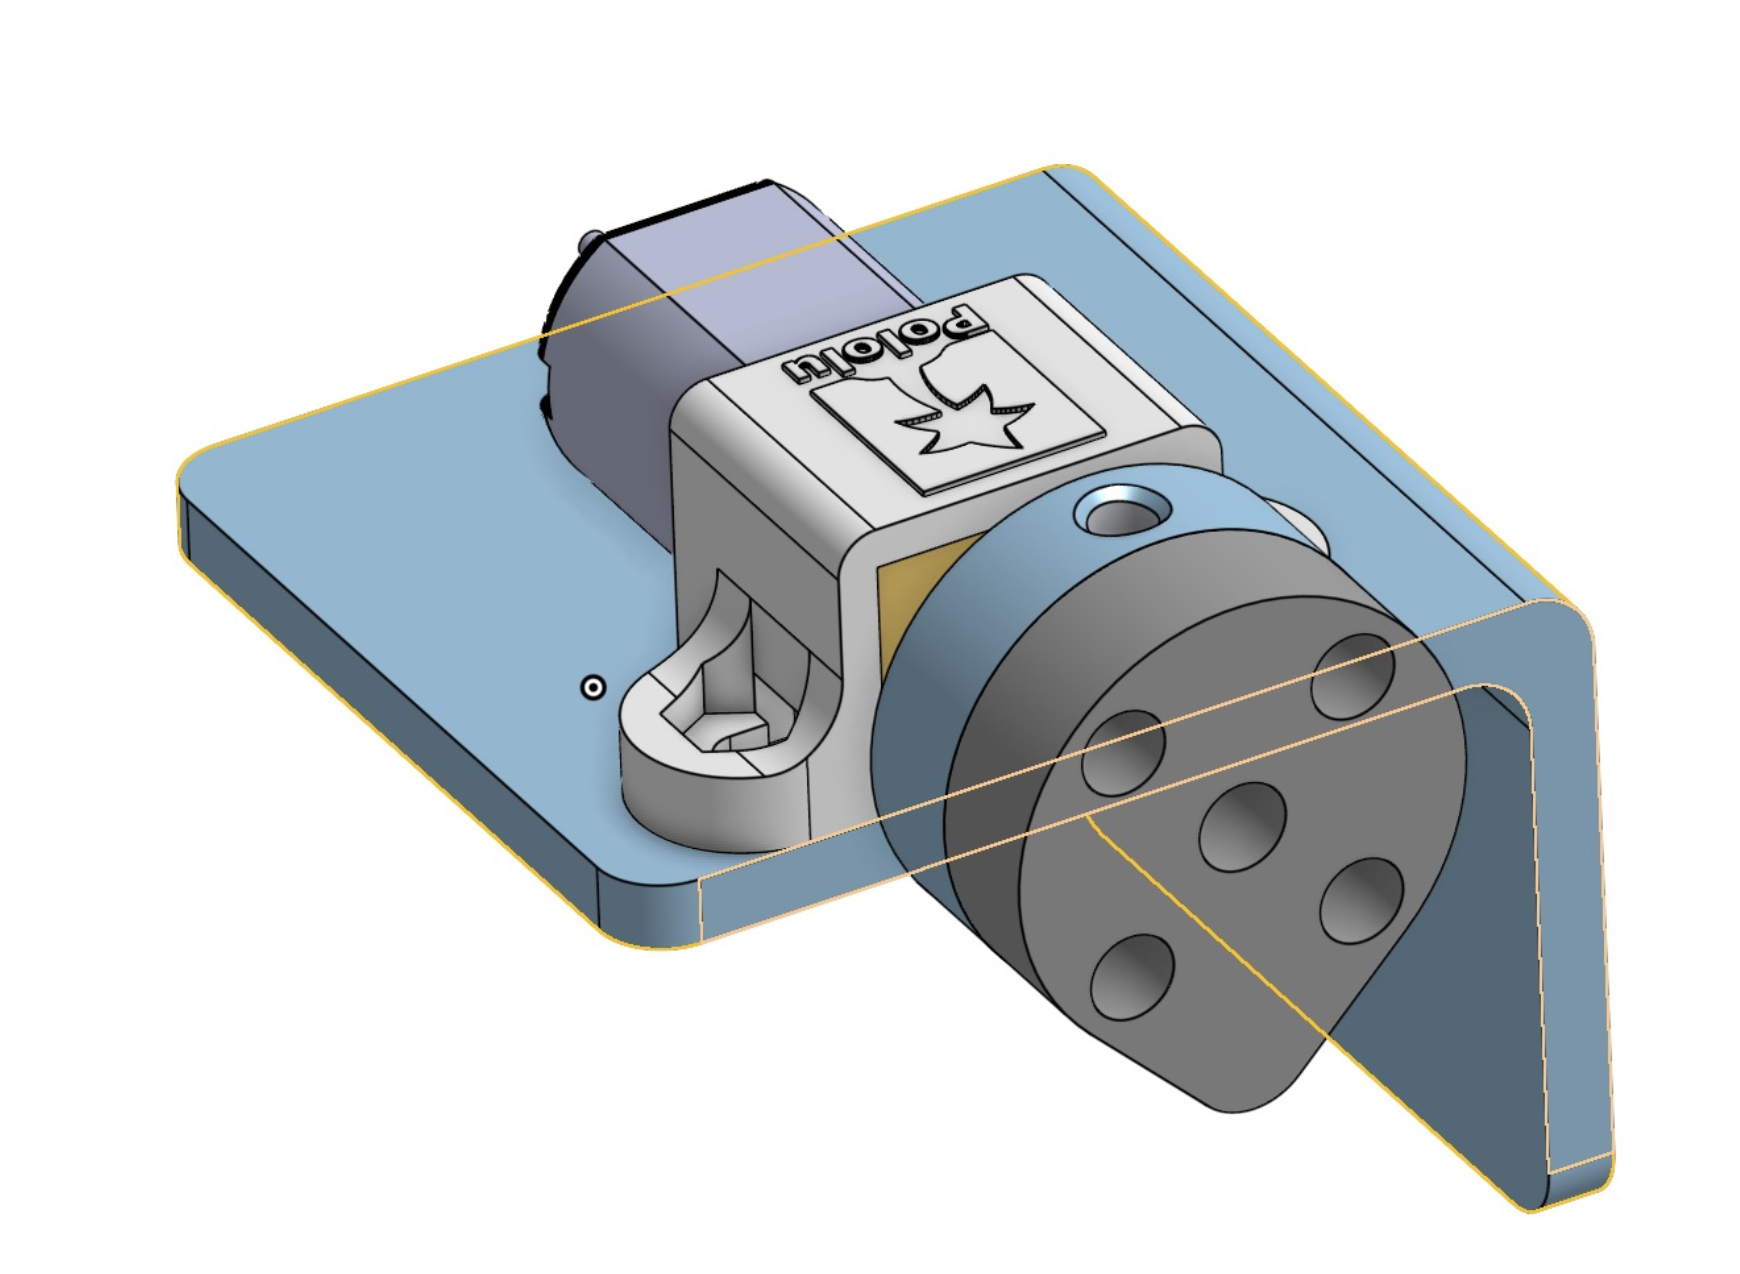
3. SPOON MOTOR
The first motor is connected to the H-bridge’s AIN1/AIN2/AOUT1/AOUT2
It constantly stirs for the same duration that the heater is on to keep the coffee from separating as it sits
BILL OF MATERIALS
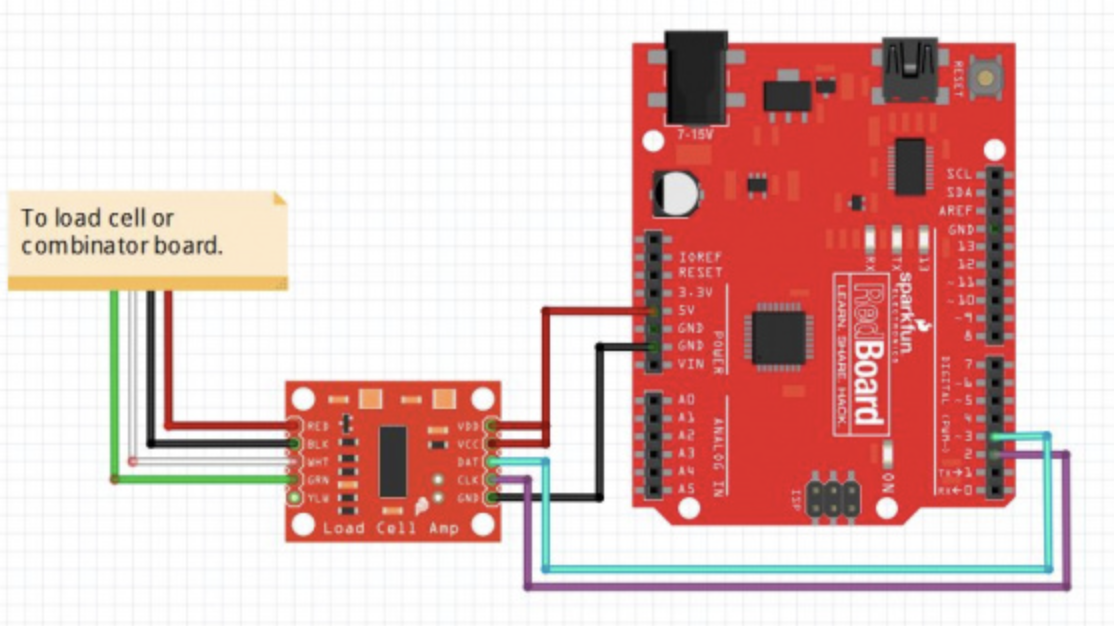
x4 Load Cells with HX711 Amplifier
Relays for Heating Element
Heating Element
3D Print of tray top
3D Print of stirrer and holder
Laser cut of wood block
Laser cut of coaster
$8.99
$6.99
$7.09
$1
$1
$8
free
————>
————>
————>
On/Off Motor
Spoon Motor
Heater
2. LOAD CELL
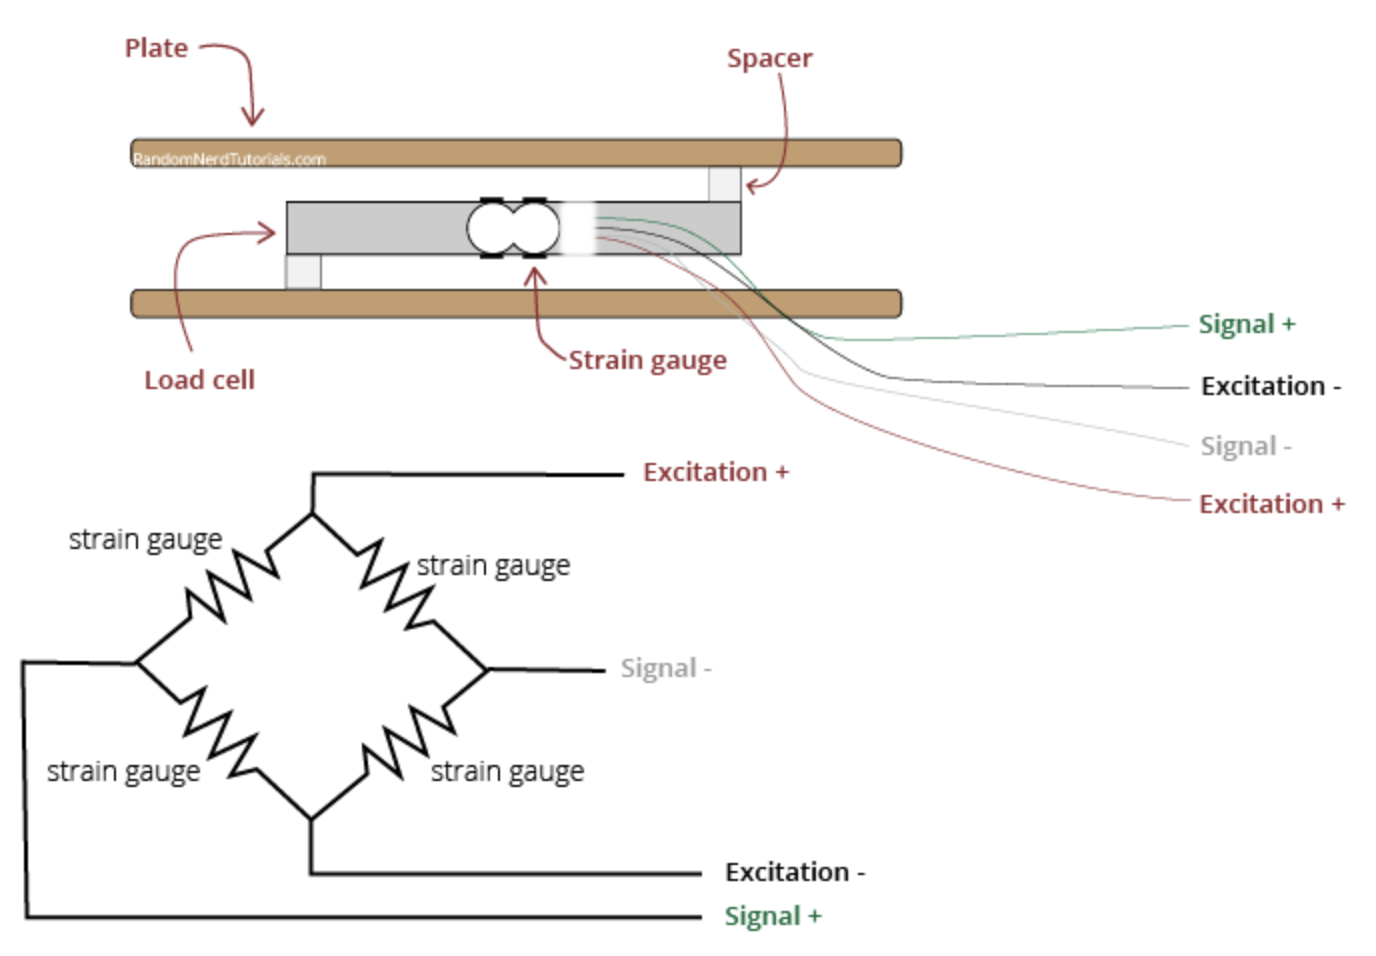
The load cell bar is calibrated to detect when the final amount of ounces have brewed
We used a Z-formation attachment to create a moment M (where the liquid weight creates deflection instead of compression)
Load cell is connected to a HX711 amplifier to illuminate small changes to strain gauge
4. ON/OFF MOTOR
Our first motor, connected to our H-Bridge’s BIN1, BIN2, BOUT1, BOUT is connected to an arm which rotates for 0.5 seconds to push the “on” button.
It then recoils to its resting state once started and the motor goes to rest.
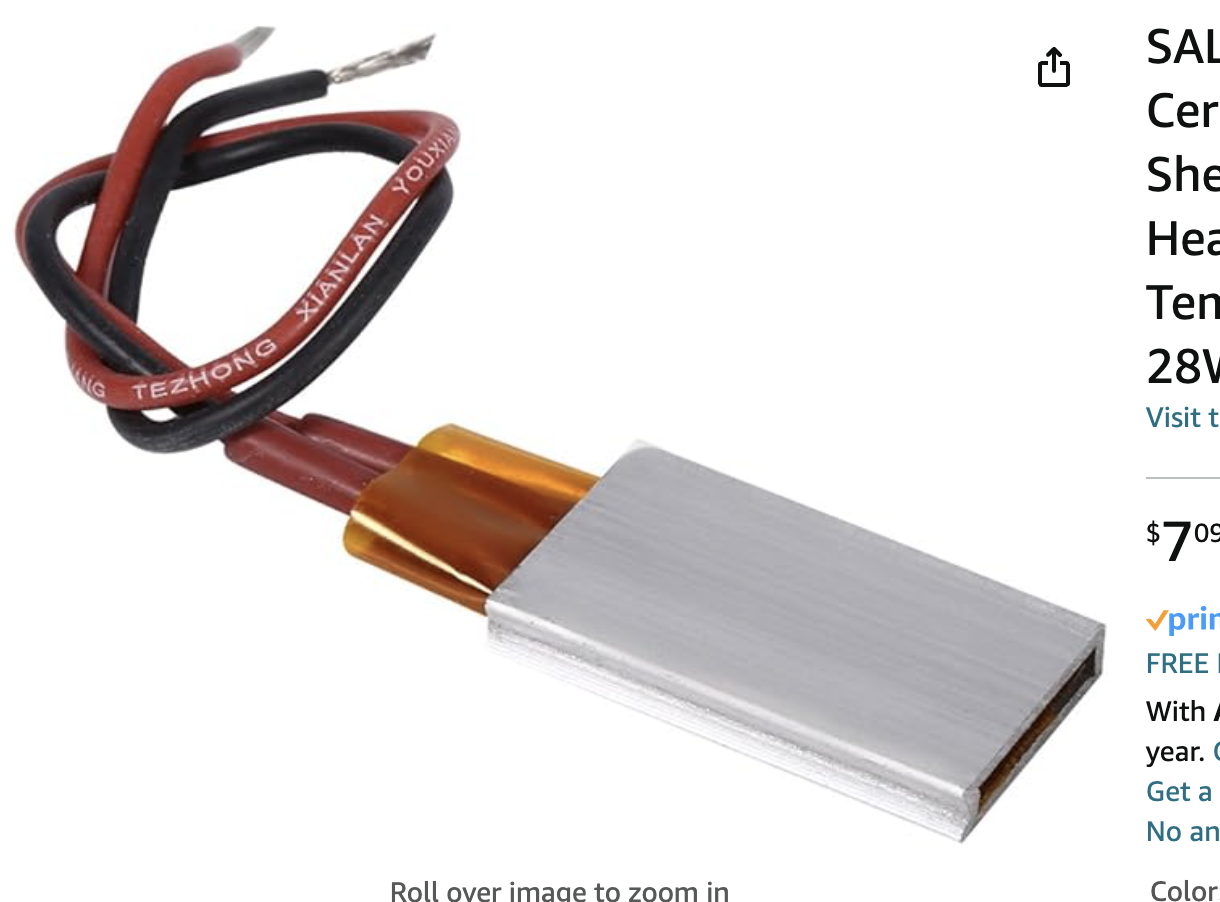
5. HEATING ELEMENT
The heating element stays around 100 degrees C (optimal coffee brewing temperature)
P = IV = (.3A)(9V) = 2.7W -> 100C
The wall plug delivers 9V to the heating element through an H-bridge, which consequently has the heater drawing .3A which was too much for the ESP32 itself

RESULTS

Heater Power Source
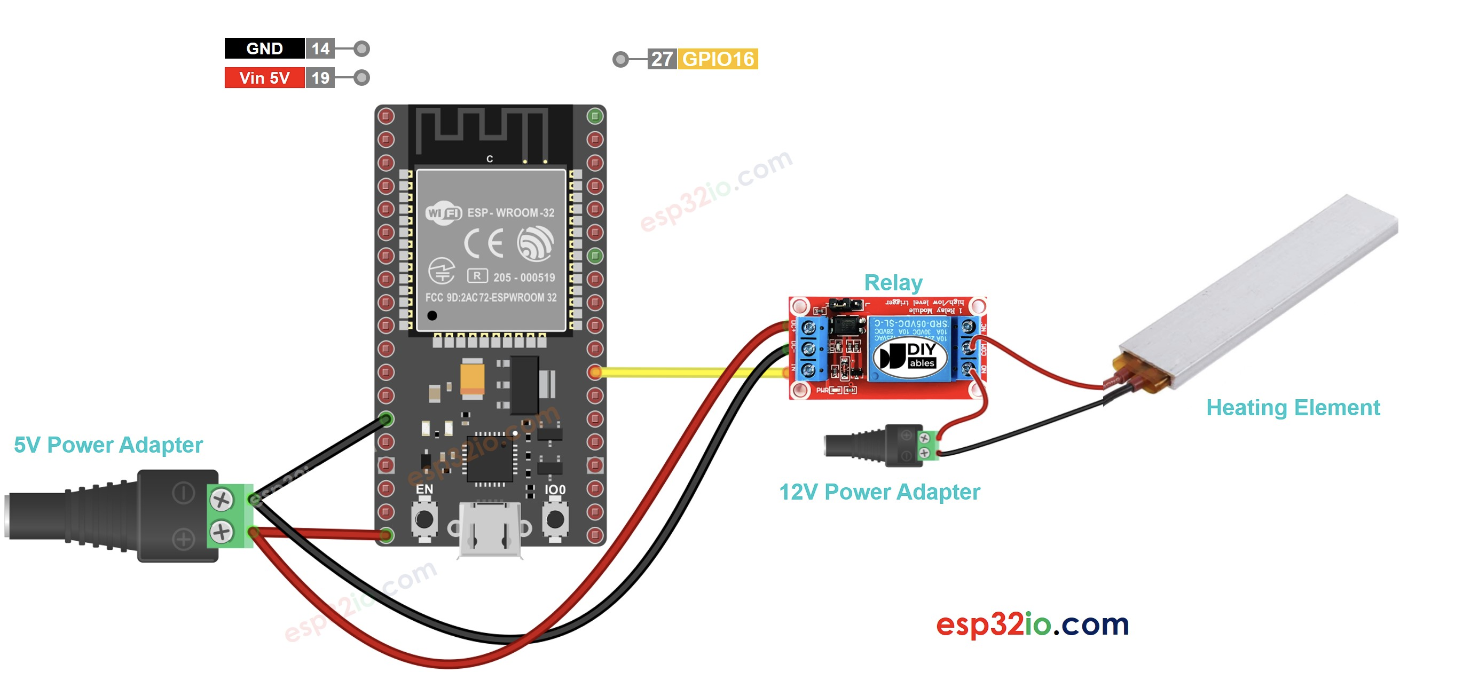
We tried using a relay for the heater to connect it to a logic input and to supply it 12V instead of just 3.3 or 5 from the ESP. This didn’t work so we ended up using an H-bridge for the power issue and just DigitalWrite for the logic.
Button Press Accuracy
As seen in the demo, it was hard to achieve a steady button press with the motor’s rotational motion. Using a belt pulley or light transmission to amplify the power could help the accuracy of this button press!
Challenges
Switching to Arduino IDE
Using the load cell’s HX711 required a library download from Githbub that was most compatible with Arduino IDE
Future Work
Mug Detection Sensor
For longevity and an extra sense of security, adding an ultrasonic distance sensor could verify the results of the load cell pressure values.
Load Cell Formation
We originally tried to use 4 square load cells to leverage their flat shape fit into our coaster. However, due to their calibration need to be spread out, we compromised on a load bar in a thicker coaster.
App Customization
In lo-fi prototyping purposes, we made a website mockup for the button press, but customization of an automated start time, inputted stir time, or custom temperature could improve the user experience :)


